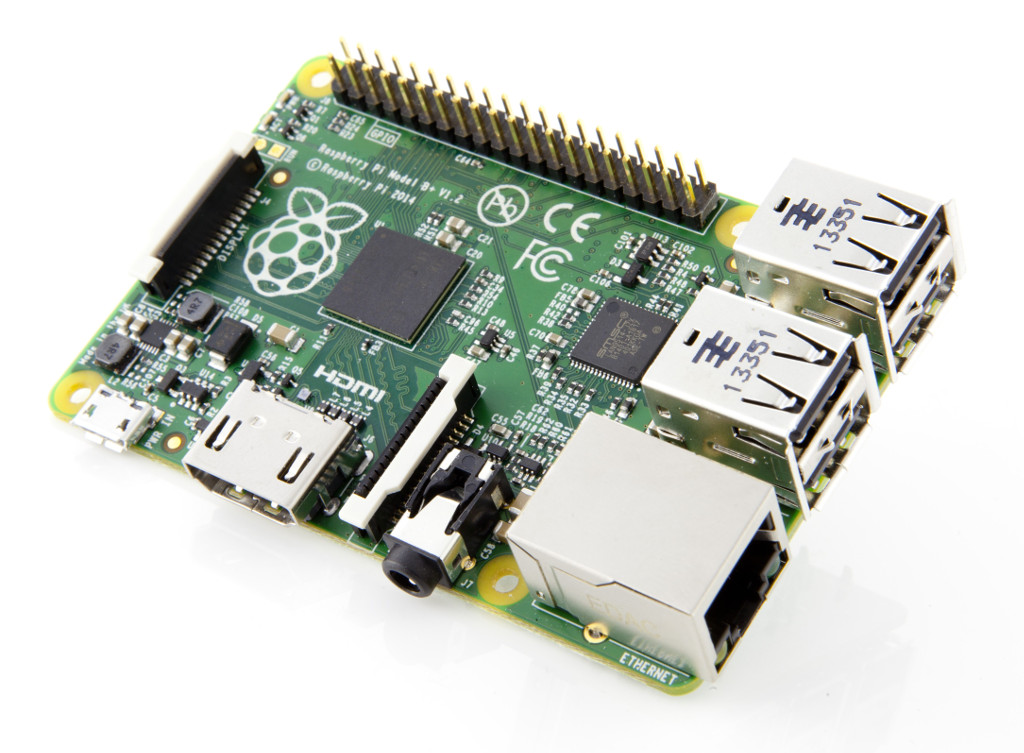
IDM on Raspberry PI

Raspberry PI is a wide spread platform with integrated Wifi and Bluetooth, can be used as a powerful gateway and to host distributed Isotel.IoT private cloud.
In this manual we assume you’re running the Raspbian Distribution made officially for raspberry pi.
Quick tips for reliable operation:
use a higher quality SDcard, desired temperature range and durability to avoid data-loss. Make sure you also frequently back-up the data.
use a power-bank between the AC supply and RPi to overcome power failure issues of the Grid unless it is connected to an UPS. Note that not all of the power-banks are able to charge and supply at the same time.
For more professional 24/7 logging one might consider a Synology NAS.
Table below represents key compatibility notes, features not listed are all considered to be supported and run flawlessly.
Feature |
Compatibility |
Full Speed USB Devices |
Yes, Plug and Play |
USB/Serial Devices |
Yes, pre-configured 4 serial PnP ports |
UDP Devices |
Yes on port 33005 |
Bluetooth |
Yes, manual pairing is required |
GUI |
Via X Windows server |
Web RESTful API |
HTTP port 33000 |
Web Access |
Yes, direct or via reverse proxy |
Logging |
syslog-ng |
Installation
The following installation notes were tested on:
Hint: If you’re setting up a RaspberryPI without a keyboard and console, you need to add a ssh file
into the boot partition to be able to login for the first time as pi@<rasp-ip-address with password raspberry.
After logging in start sudo raspi-config and enable ssh under the Interfacing Options as
as ssh file was removed and after 2nd boot access would no longer work.
More info may be read in this article.
Mandatory Packages
If it’s your first time working with the raspberry pi you may
want to read a RPi Get Started Guide first.
In short plug in an ethernet cable to the LAN port of the RPi and connect it with router,
power-up the RPi wait about 10 seconds and then try login to the raspberry pi as ssh pi@raspberrypi.
If this doesn’t work try to locate your IP (somehow) and then login
as ssh pi@ip-of-your-rpi.
IDM requires java 1.8 which is a standard package provided by the Raspberry PI distro. To install it type:
sudo apt-get install openjdk-8-jre
and download the IDM jar package from Installation
Granting User USB Access to Isotel Precision and MonoDAQ_U Devices
For plug and play USB devices as are Isotel Precision and MonoDAQ_U products by default only root access mode is granted. To add user access for these devices add:
etc/udev/rules.d$ more 99-myusb.rules
SUBSYSTEMS=="usb", ATTRS{idVendor}=="5726", ATTRS{idProduct}=="1500", GROUP="users", MODE="0666"
SUBSYSTEMS=="usb", ATTRS{idVendor}=="5726", ATTRS{idProduct}=="1502", GROUP="users", MODE="0666"
SUBSYSTEMS=="usb", ATTRS{idVendor}=="1ced", ATTRS{idProduct}=="8000", GROUP="users", MODE="0666"
SUBSYSTEMS=="usb", ATTRS{idVendor}=="1ced", ATTRS{idProduct}=="8001", GROUP="users", MODE="0666"
SUBSYSTEMS=="usb", ATTRS{idVendor}=="1ced", ATTRS{idProduct}=="8002", GROUP="users", MODE="0666"
KERNEL=="hidraw*", SUBSYSTEM=="hidraw", MODE="0666"
Then run:
etc/udev/rules.d$ udevadm control --reload-rules && udevadm trigger
For the changes to take immediate effect, or restart Linux.
Optional Packages
If you’re about to connect to a Bluetooth hardware, install bluetooth libs:
sudo apt-get install bluetooth libbluetooth3
If you want to run python scripts:
sudo apt-get install python3-pip
pip3 install isotel-idm
Starting
IDM may run with GUI support:
java -jar idm.jar
In many cases RPi is used to run as an embedded system without a monitor. Then start the IDM without GUI:
java -jar idm.jar --daemon
For more information follow instructions under the IDM Command Line Parameters
Adding a Bluetooth Device
To access specific Bluetooth devices manual pairing must be done in advance. This is typically true for older Bluetooth devices with a pin code of four digits.
Below is an example of an entire procedure how to pair with a Bluetooth device.
Do the pair xx:yy:zz:.. command for every device you would like to use,
paired devices are finally seen using the command paired-devices.
pi@raspberrypi ~ $ sudo bluetoothctl
[NEW] Controller 00:19:0E:06:BA:D1 IoT [default]
[NEW] Device 00:04:3E:29:B4:F7 Energy Control Link
[bluetooth]# agent on
Agent registered
[bluetooth]# default-agent
Default agent request successful
[bluetooth]# pairable on
Changing pairable on succeeded
[bluetooth]# scan on
Discovery started
[CHG] Controller 00:19:0E:06:BA:D1 Discovering: yes
[CHG] Device 00:04:3E:29:B4:F7 RSSI: -62
bluetooth]# list
Controller 00:19:0E:06:BA:D1 IoT [default]
[bluetooth]# select 00:19:0E:06:BA:D1
[bluetooth]# pair 00:04:3E:29:B4:F7
Attempting to pair with 00:04:3E:29:B4:F7
Request PIN code
[agent] Enter PIN code: 1234
[CHG] Device 00:04:3E:29:B4:F7 Connected: yes
[CHG] Device 00:04:3E:29:B4:F7 UUIDs:
    00001101-0000-1000-8000-00805f9b34fb
[CHG] Device 00:04:3E:29:B4:F7 Paired: yes
Pairing successful
[CHG] Device 00:04:3E:29:B4:F7 Connected: no
[bluetooth]# paired-devices
Device 00:04:3E:29:B4:F7 Energy Control Link
[bluetooth]# quit
To automatically open a bluetooth connection one may pass request via command line as:
java -jar idm.jar --daemon --run='$openBluetoothConnection(00043E29B4F7)'
Another way would be via python api:
from isotel.idm import gateway
idm_rpi = gateway.Group('http://your-rpi-address')
idm_rpi.do('openBluetoothConnection', ["00043E29B4F7"])
Or to enable auto-connect/disconnection whenever IDM finds the device send command:
idm_rpi.do('setAutoConnect', ["bluetooth", "00043E29B4F7", "on"])
or manually add the device under the misc section into the config.json
"misc" : {
    "auto" : {
        "bluetooth" : [ "00043E29B4F7" ]
    }
}